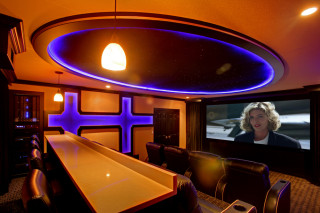
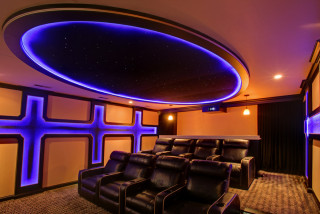
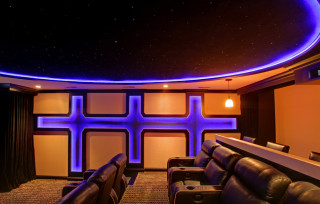
Home Movie Theater
Designed & Made collaborated with Admit One and Annie Tropple to design and build this custom, award-winning home movie theater. Hear from Lance and Annie about how the project came to life.

Mr. & Mrs. Smith Doors
We knew we wanted to make a big impact with this kitchen. This video showcases the final product of our collaborative efforts.
The builder I did this kitchen for and I both have a design forward approach and are really passionate about what we do. These projects are always a lot of fun to work on.
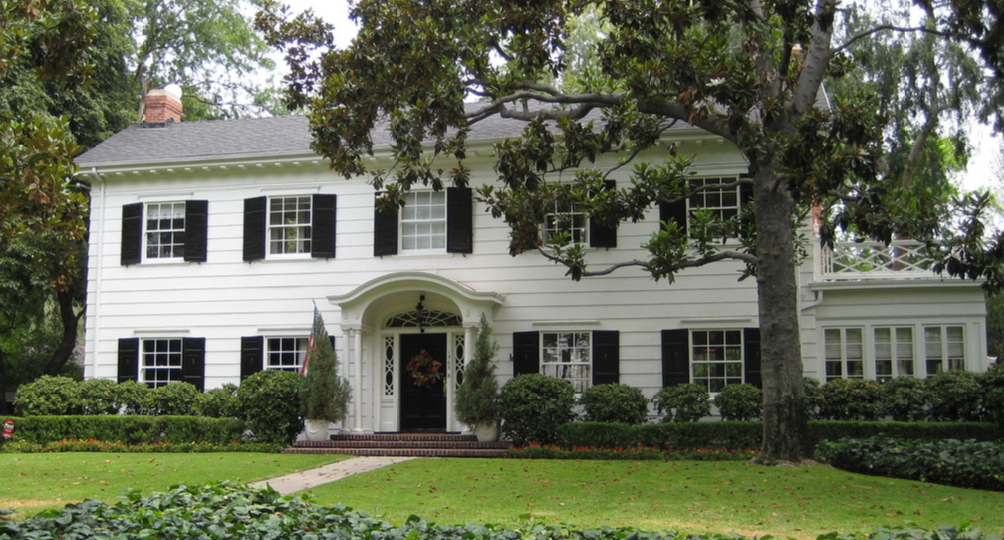
This house is the second of two custom homes in the new 12 lot development in historic St. Paul’s Crocus Hill neighborhood.
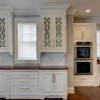
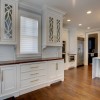
The custom CNC grid doors were originally inspired by the house in Mr. & Mrs. Smith. (The Closet and Master Bath in that house are also amazing, check it out next time you watch the movie. You know what I’m talking about Rick.)
The question was, what’s the best way to make custom grids like the ones in these doors? That is where Mike Prom and Tyler Cooper came in. After Chris and I had the concept for this kitchen polished up, Mike and I started designing the doors and toe kicks using parametric modeling software and go-to-meeting.
Mike is a superhero when it comes to CAD. He has been helping me out with drafting and design work from the very beginning. Mike is awesome.
Tyler Cooper is one of the owners at Nordeast Makers. Cooper and his business partner Micah have become my go-to source for contract CNC work. In addition to the CNC router, they also have a laser cutter, and multiple 3D printers.
The best projects that I work on are always a collaboration between multiple creative minds working towards the same end goal.
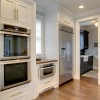
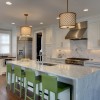
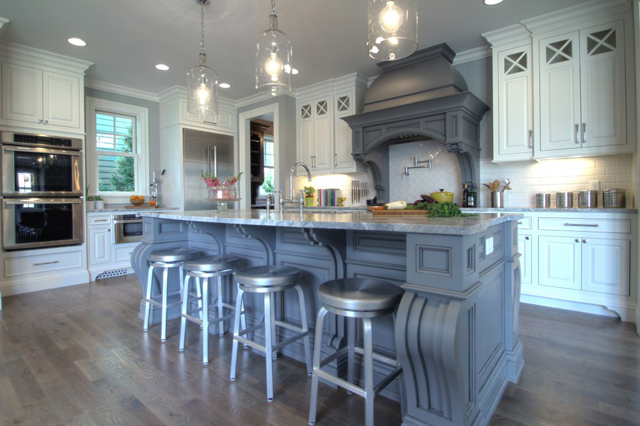
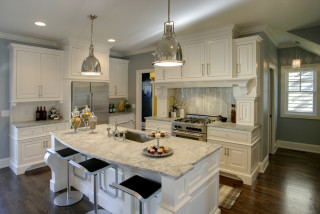
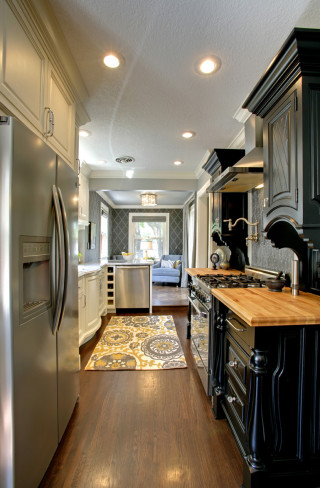
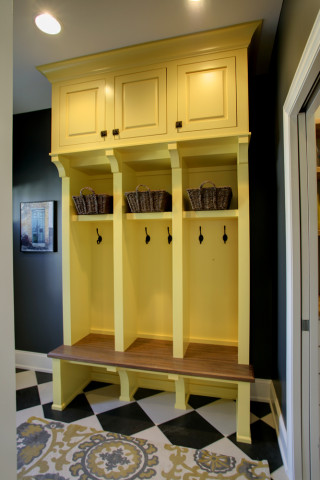
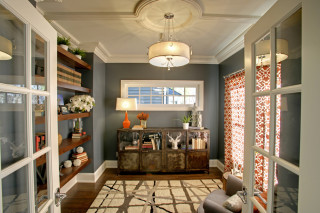
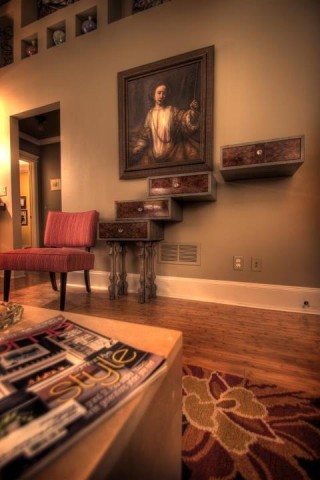
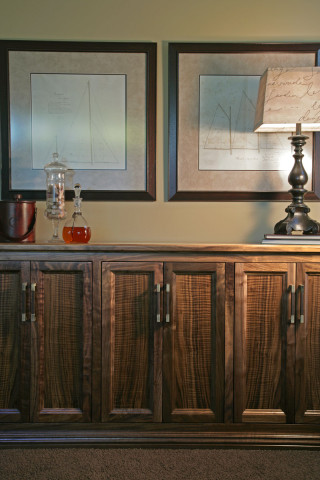
Below are some images of the finished project.
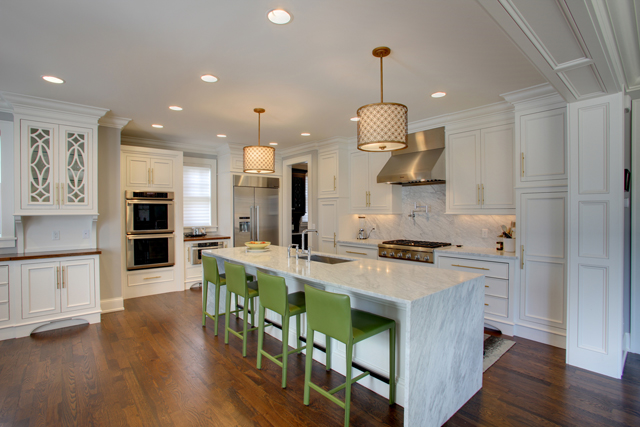

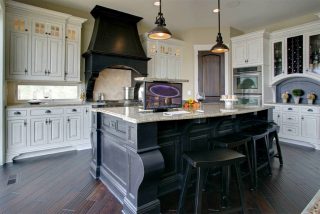
Crocus Hill Custom Kitchen
We knew we wanted to make a big impact with this kitchen. This video showcases the final product of our collaborative efforts.
The builder I did this kitchen for is also one of my best friends, and we both started our companies at the same time in 2005. Chris Van Klei and I both have a design forward approach and are really passionate about what we do. It’s always really fun working together. At times we tend to go a little overboard, which is why I believe we were able to survive in the down economy and come out on the other end working on projects like this one.
This particular project was a unique opportunity for the both of us to plant our flags. This house is one of two custom homes in a new 12 lot development in historic St. Paul’s Crocus Hill neighborhood. We were going to be working along side some big name builders and architects and with that in mind, the design process began.
Design concepts always start out as a sketch. This kitchen was modeled after a similar project I completed a year earlier. The question was, how do we take this to a whole new level? That is where Mike Prom came in. Mike was the mastermind behind the uber complicated hidden drawer mechanism that I built back in 2010.
Mike is a CAD wizard with a background in mechanical engineering. He has been helping me out a tun with drafting and design work since I got started. Like Chris, Mike is also one of my best friends. The best projects that I work on are always a collaboration between multiple creative minds working towards the same end goal.
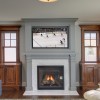
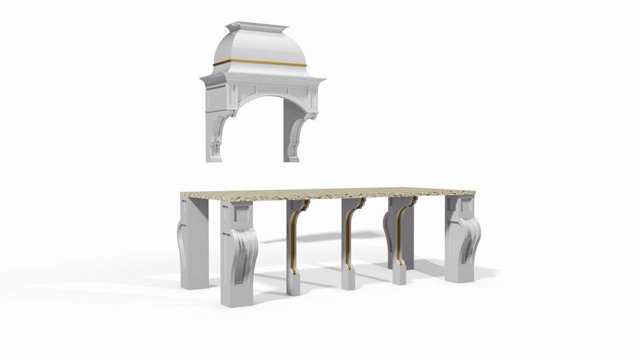
After Chris and I had the concept for this kitchen polished up, Mike and I started designing the hood using parametric modeling software.
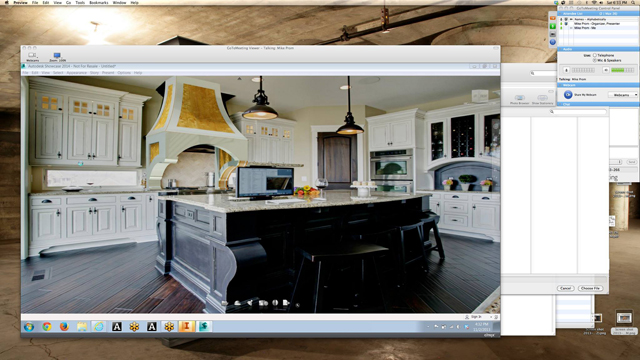
Mike lives in Portland and I live in Minneapolis, so we had to do our meetings together online using GoToMeeting.com. Mike designed/modeled the hood and island legs using a CAD software called Inventor by Autodesk. I was able to view his screen on my screen, and we were able to communicate though the microphone and speakers built into our computers. Together we spent several nights collaborating on how we wanted those parts to look and be constructed.
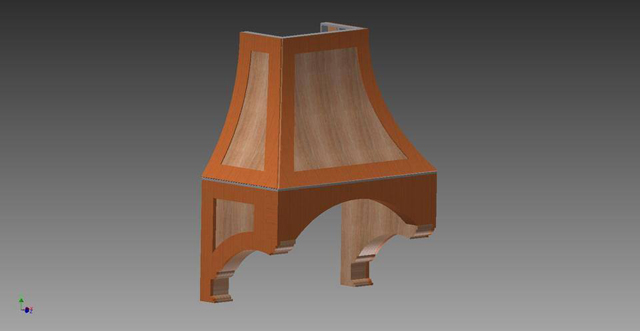
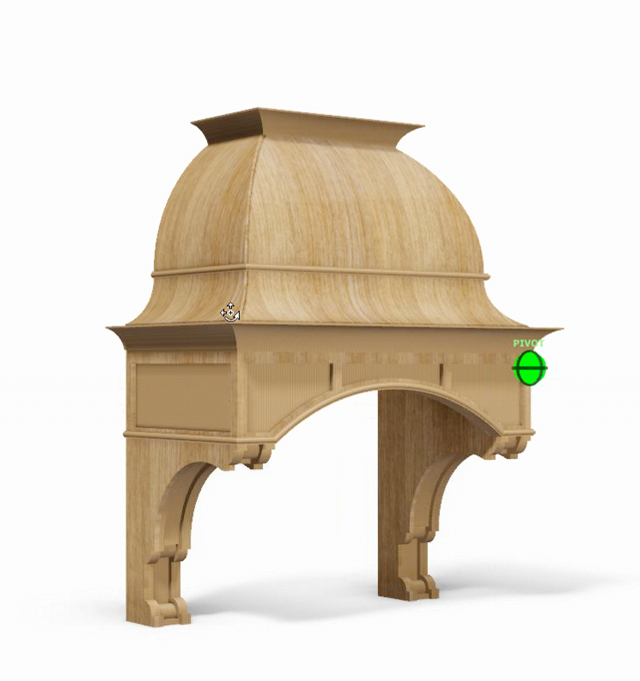
Here are some renderings showing the progression.
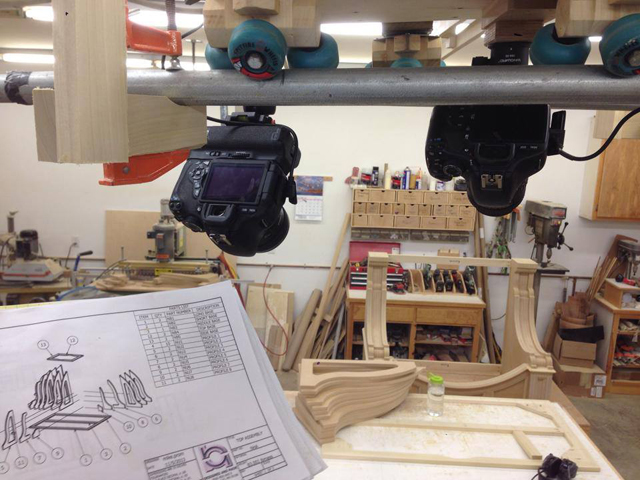
After we completed the design work, Mike put me in touch with a contact of his who runs the CNC at a nearby, large scale production wood shop. We handed off the .dxf files to him and he nested the parts and routed everything out for us.
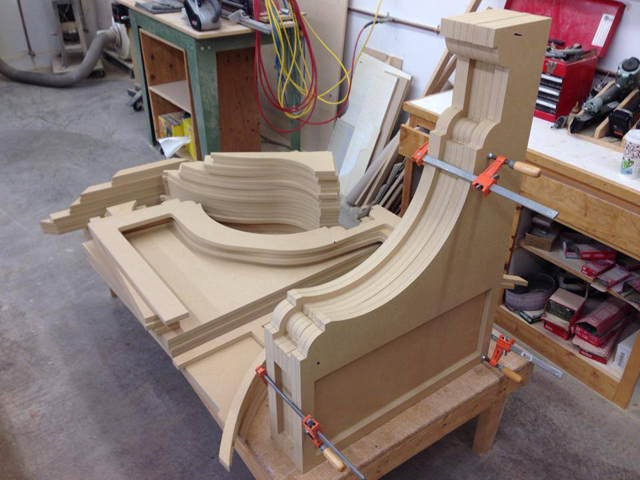
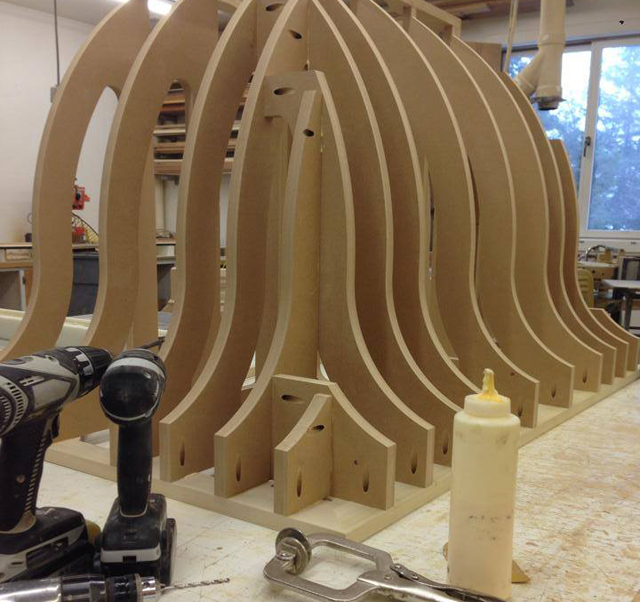
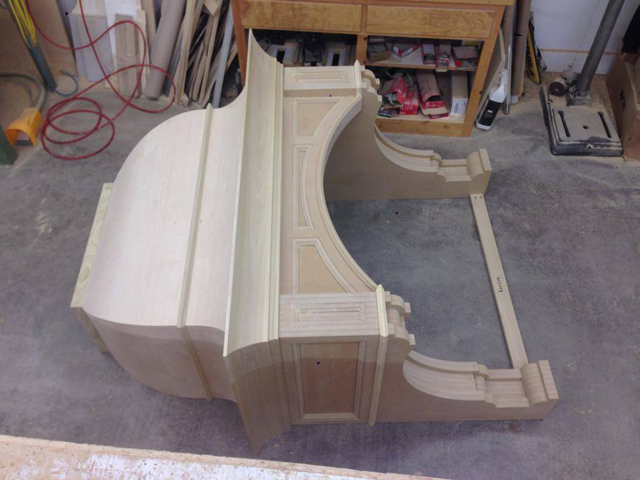
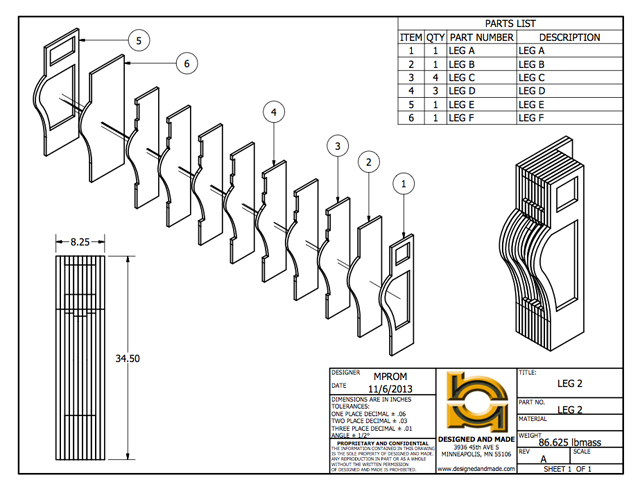 After that it was simply a matter of piecing everything together and filming time-lapses of the process. All the parts were routed out of 3/4″ MDF. I glued, screwed, bondo’ed and sanded up each section, working from the inside of the assembly outward.
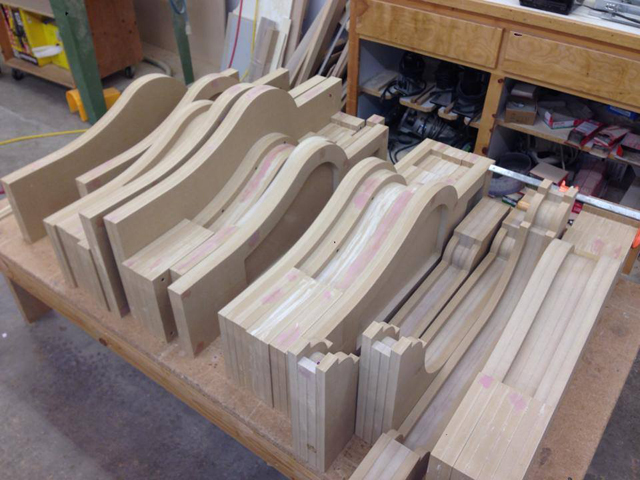
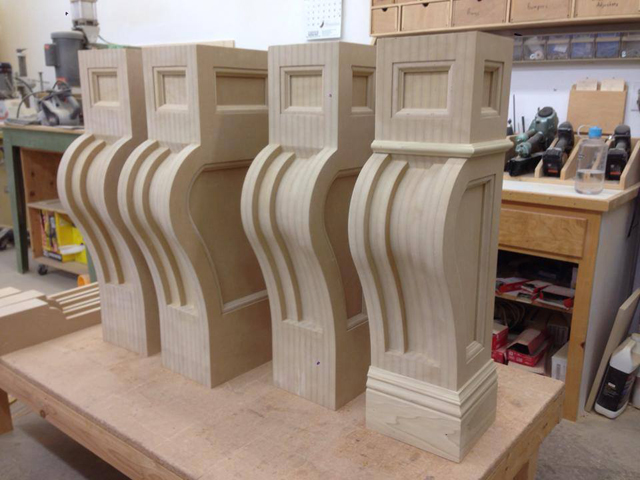
After the bones of the top section were assembled, I laminated the face with 3/8″ bending plywood. These parts were also cut to the exact size and shape on the router, so all I had to do was line it up and screw it down.
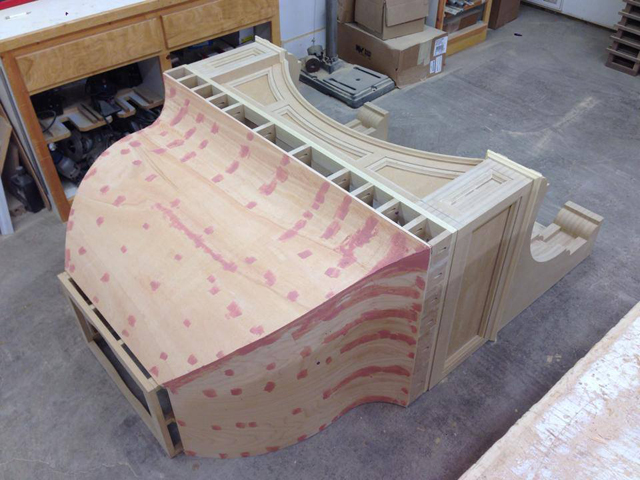
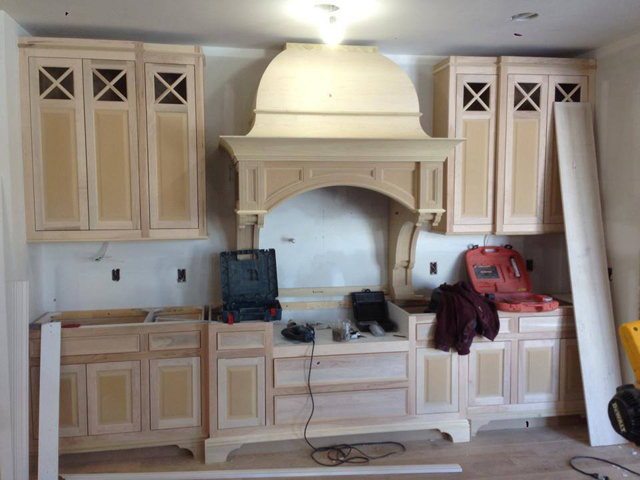
After the glue dried, I puttied all the screw holes and edges with automotive bondo and sanded them flush. The final step was to veneer over the bending plywood. For this, I used paper backed veneer and contact adhesive. I started with the sides, and finished with the face. The applied molding was nailed on and I was finished.
We designed this hood to be easy to install. There were two hangers built into the top section of the hood so it could be installed the same way you would install a cabinet. We also designed the back sides of the legs to have voids so that cleats could be attached to the wall and nailed into through the sides of the legs.
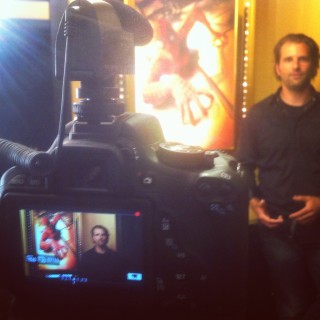
Original Demo Reel
Video Credits
Filming by Joshua VP and Brian Grabski
Editing and Color by Joshua VP
CAD drawings and animations by Mike Prom
Robotics by Peter Kerwin
Music by Mexicans with Guns – Death and Rebirth
Faux Paint Distressed Furniture
This is a 3.5 minute YouTube video I filmed and edited on the technique I use for painting furniture to look old. It rips through the process pretty fast, but I think it shows everything that it needs to.
Take a look and let me know what you think, any feedback is appreciated.
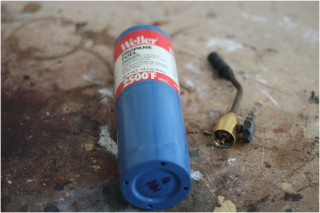
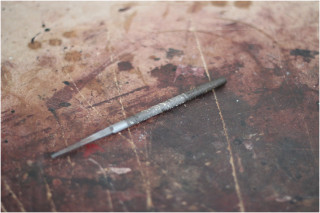
Tools you’ll need:
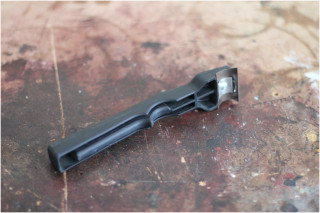
- propane torch
- rat-tail file
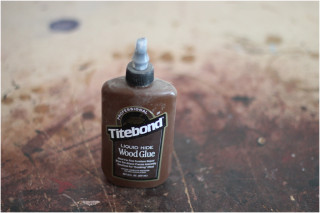
- liquid hide glue
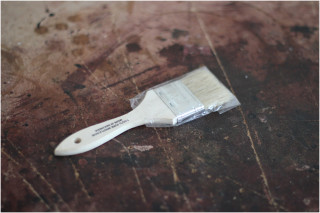
- disposable brush
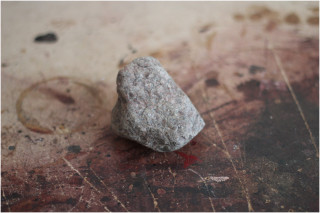
- softball size rock
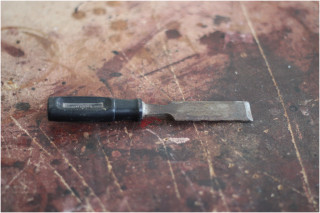
- old dull chisel
- paint scraper
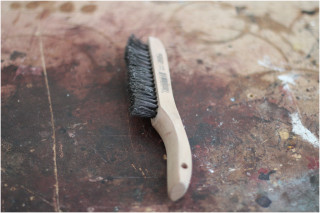
- wire brush
Step # 1. Distressing
As furniture ages, the sharp details and edges are usually the first to wear. I start by softening all the sharp edges using a rat-tail file. Chip a corner or two using an old dull chisel. I like to add dents using a softball size rock. It’s important to rotate the rock as you strike the project because you do not want all the dents to have the same size and shape.
Next, alter the texture of the wood’s grain using heat and moisture. Doing this will rapidly change the cell structure of the wood, creating an aged look. Mist your project with water using a spray bottle. After the water has absorbed, quickly evaporate the moisture using heat generated by a propane torch. A little char is ok on the edges, but try not to burn your project too much.
Go over the whole project with the wire brush to remove any burs and excess char.
Step # 2. Apply penetrating stain
Oxidation causes wood to darken as it ages. To simulate this color change, I apply an Early American oil-based penetrating stain. Lambs wool pads works well for applying stain to larger projects; for small projects an old t-shirt or cotton rag works fine. Have a cheap brush handy for getting into tight spaces and into the details of moldings. After you have a section completely covered, wipe off the excess stain with a clean rag. Allow the stain adequate time to dry before begin the next step.
Step # 3. Wax the edges
Using a household tea candle or paraffin wax, wax the edges. This will make it easier to scrape down to the raw wood in step # 7.
Step # 4. Paint the base color
Brush flat latex paint on for the base coat. Choose a color that contrasts well with the top color. Let it fully dry.
Step # 5. Apply crackle coat
Before you brush on the crackle coat, give the base color of a light scuff sanding to smooth out the surface. In the video I used a store bought crackle coat, but normally I make my own using liquid hide glue thinned with a little warm water. Apply the crackle coat using a cheap disposable brush. It’s important to apply this layer in the same direction, otherwise when your top coat starts to crackle, it will look fake. Give the glue half an hour or so to dry.
Step # 6. Paint the top color
Make sure to use a flat latex paint, semi-gloss will not crackle. The paint will begin to crackle almost immediately. Work swiftly and do not brush over preceding strokes. Doing so will fill in the cracks. Allow the paint to dry overnight.
Step # 7. Distress the top color
Once the paint is completely dry, using a paint scraper and sandpaper, hit the edges to remove the paint covering the spots you had previously waxed. You can also sand through down into the previous layers on flat surfaces. Rub the spots you distress with a damp rag to give the distressing a more realistic worn look.
Step # 8. Apply the glaze (gel stain is the same thing)
Glazing altars the top color by darkening it, which creates an almost dirty look. Apply the glaze with a cheap brush. Work the glaze into the cracks and recesses to create an instant patina, and then wipe off the excess with a clean rag. This technique will add emphasis to your distress marks.
Step # 9. Brush or spray on shellac
Shellac seals in the preceding layers. I apply two coats of Zinsser blonde shellac, sanding between coats with #0000 steel wool.
Step # 10. Apply dark tinted wax.
After the final coat of shellac has fully dried, knock down the sheen by sanding with #0000 steel wool. Finally, apply a dark tinted paste wax using a clean rag.