
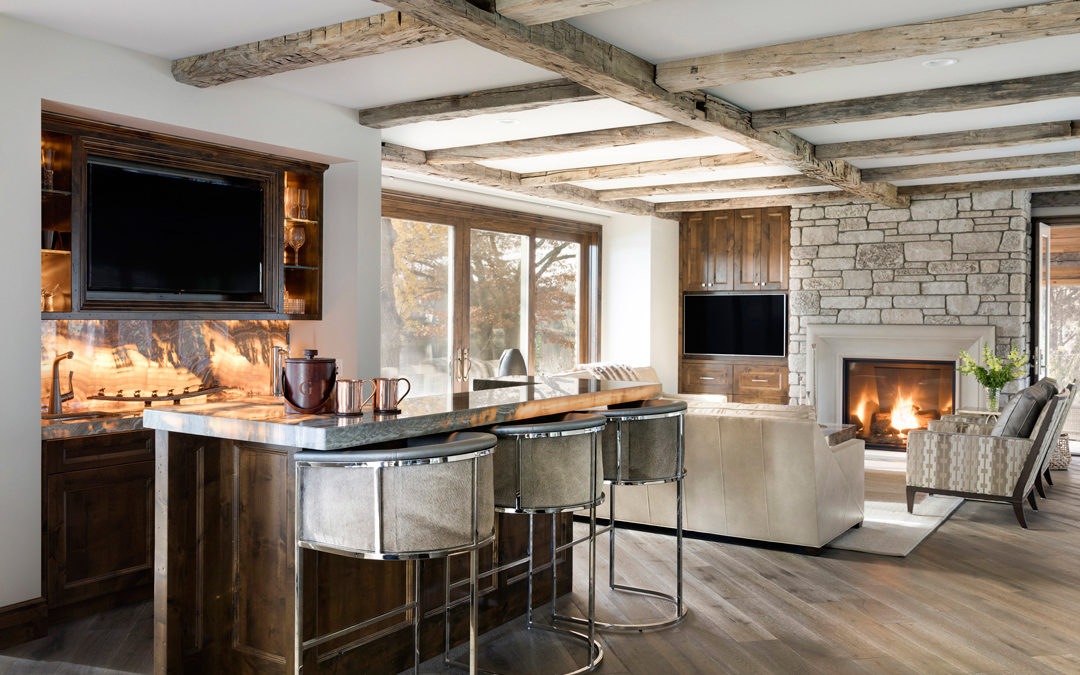
Rustic Glam
We are proud to feature our latest work in collaboration with Hage Homes and Tom Rauscher on the Mississippi River. This custom home features high end finishes, including an Onyx bar countertop with back lighting that highlights the intricacies of the material, as...
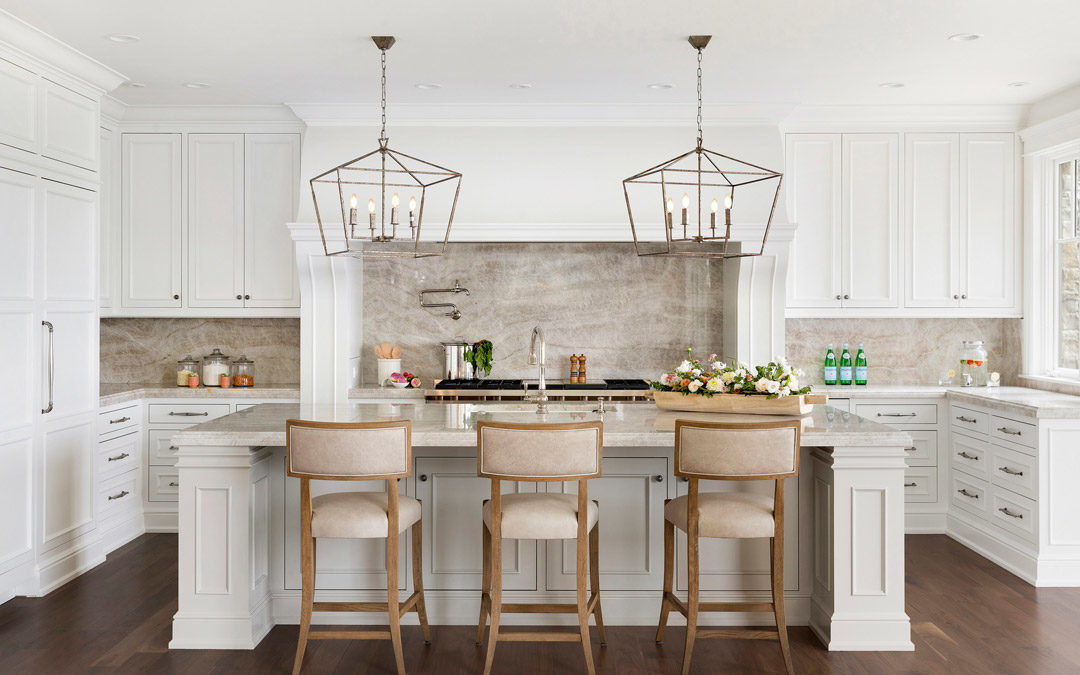
Lake Minnetonka Remodel
View photos of the this amazing Lake Minnetonka home remodel in collaboration with Frontier Structures and Home Design by Annie. Initially, the homeowner wanted us to design and build new cabinets for the dining room, along with custom vanities and built-in cabinetry...
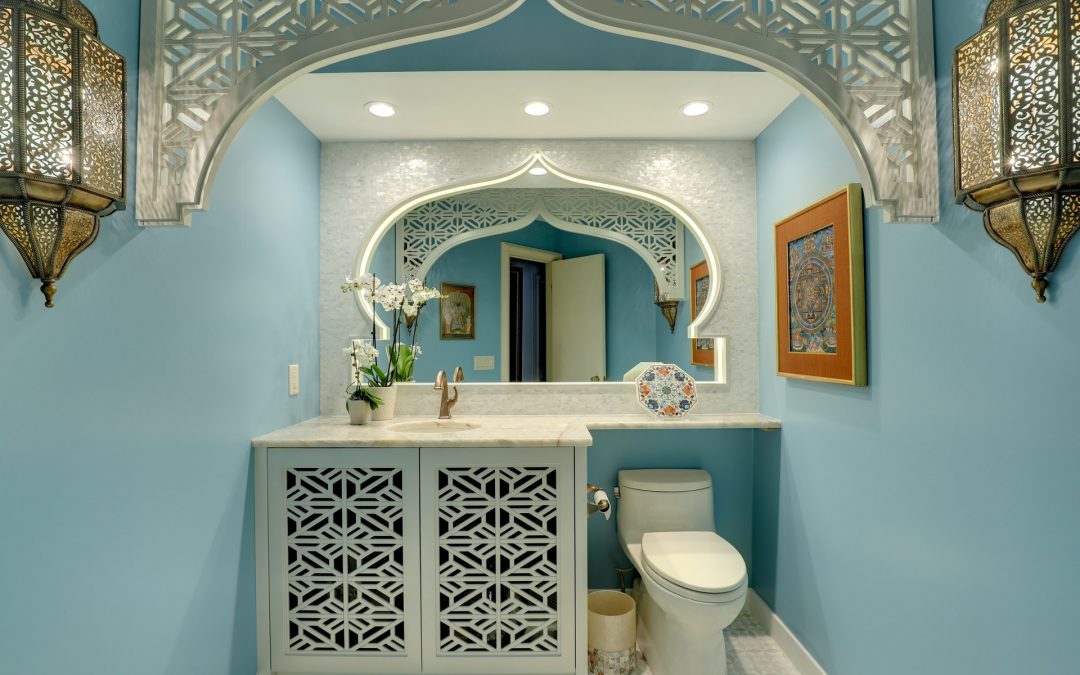
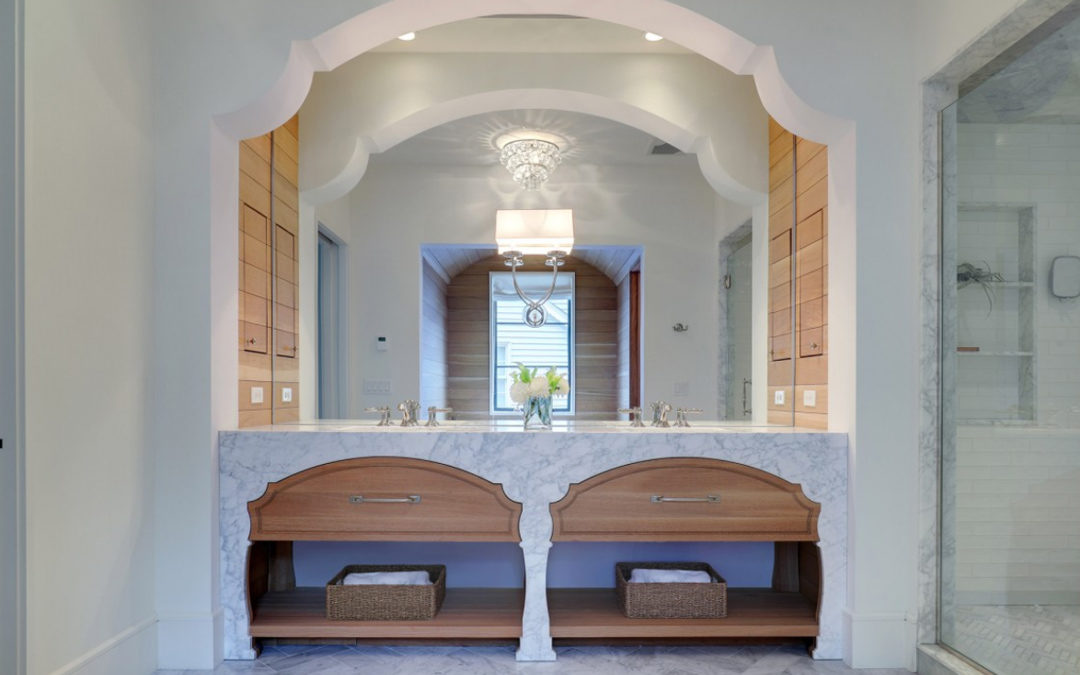
Moroccan Bathroom Remodel
Designed & Made had the opportunity to collaborate with interior designer Katherine Ma from Design Group M on this exquisite Moroccan-themed bathroom remodel in Bloomington, MN. The bathroom features a custom vanity with patterned doors, a custom mirror surround...
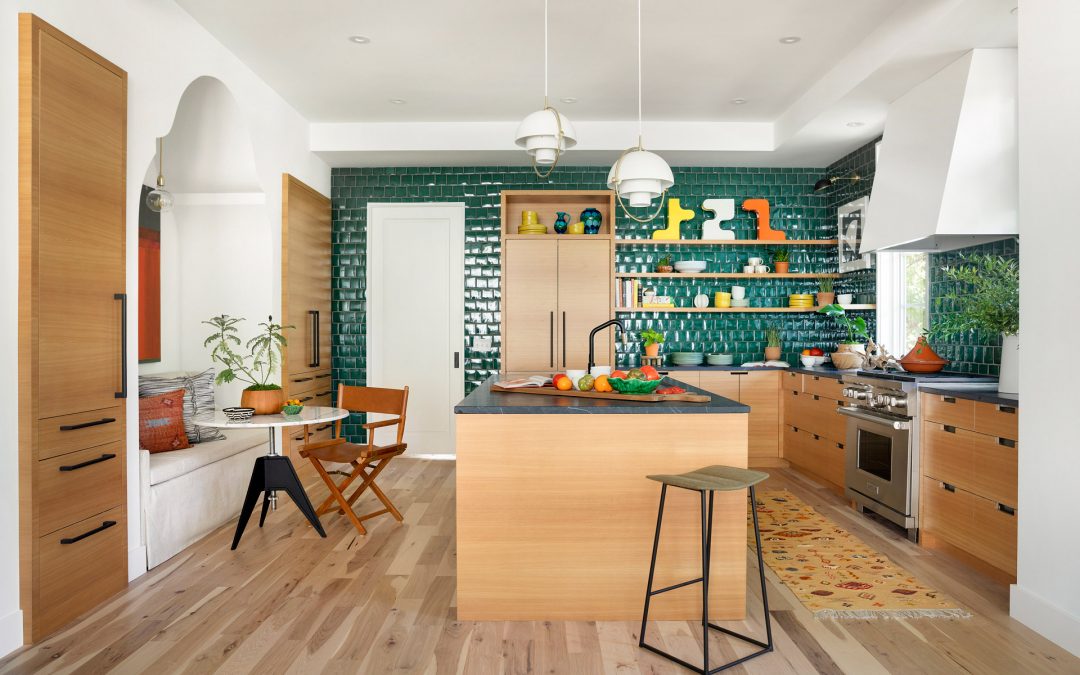
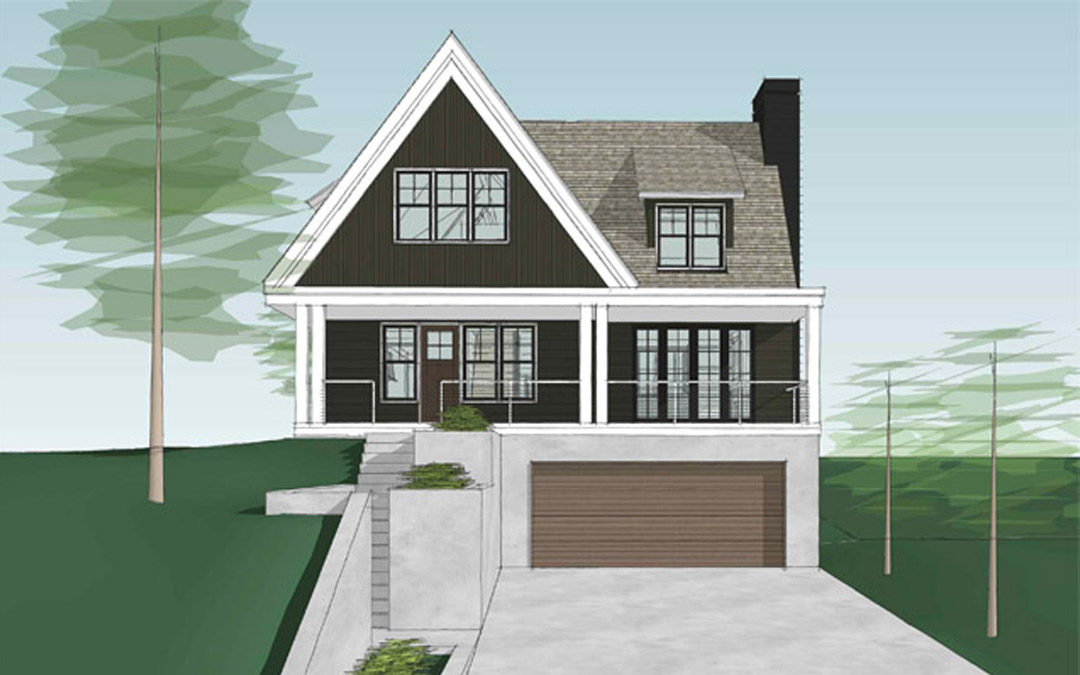
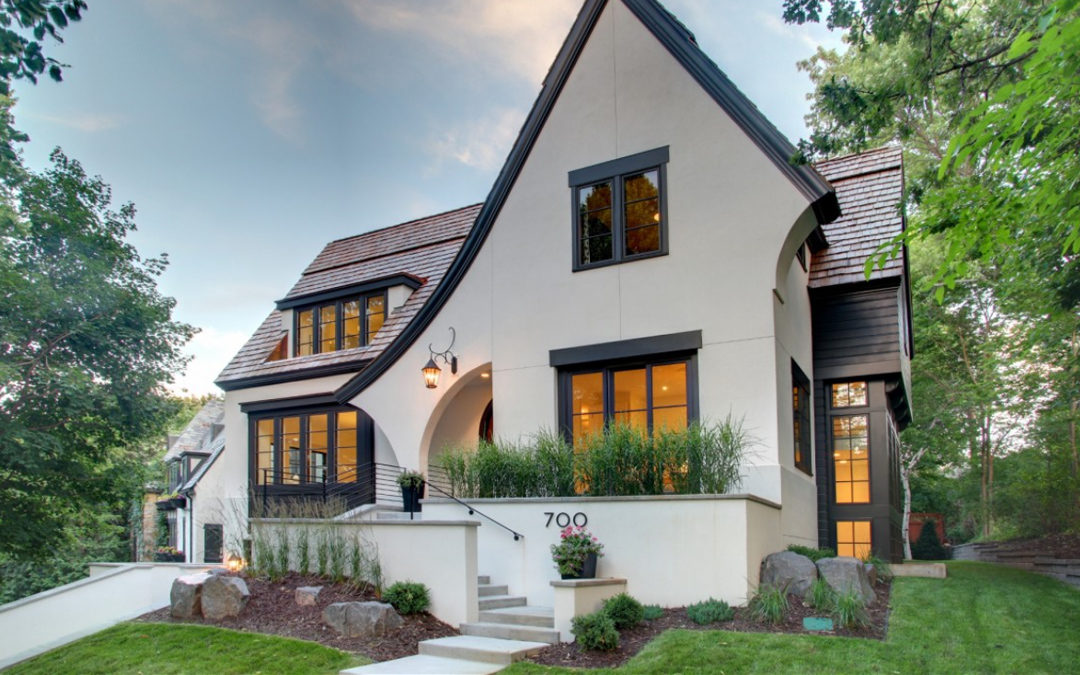
Cape Dutch Modern
This Cape Dutch Modern home in Wayzata, MN features horizontal larch wood for the cabinetry, CNC cutout finger pulls, and a non-traditional island along with custom fitted furniture-style mud room cabinets. [shareprints gallery_id="7437" gallery_type="squares"...

Home Movie Theater
Designed & Made collaborated with Admit One and Annie Tropple to design and build this custom, award-winning home movie theater. Hear from Lance and Annie about how the project came to life. [shareprints gallery_id="5475" gallery_type="squares"...
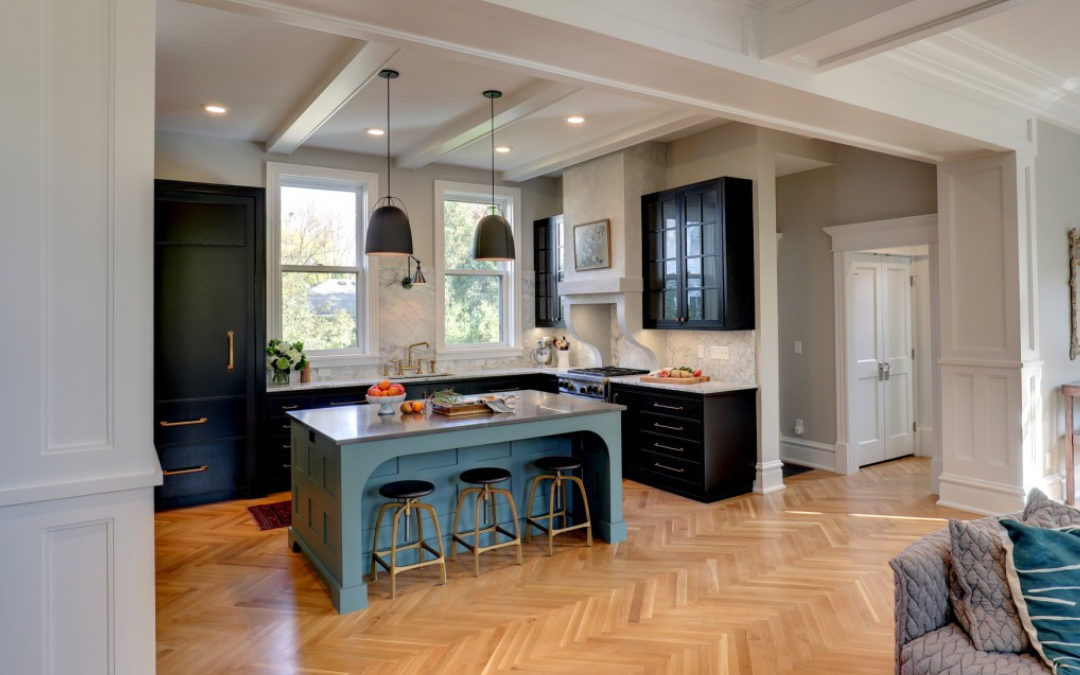
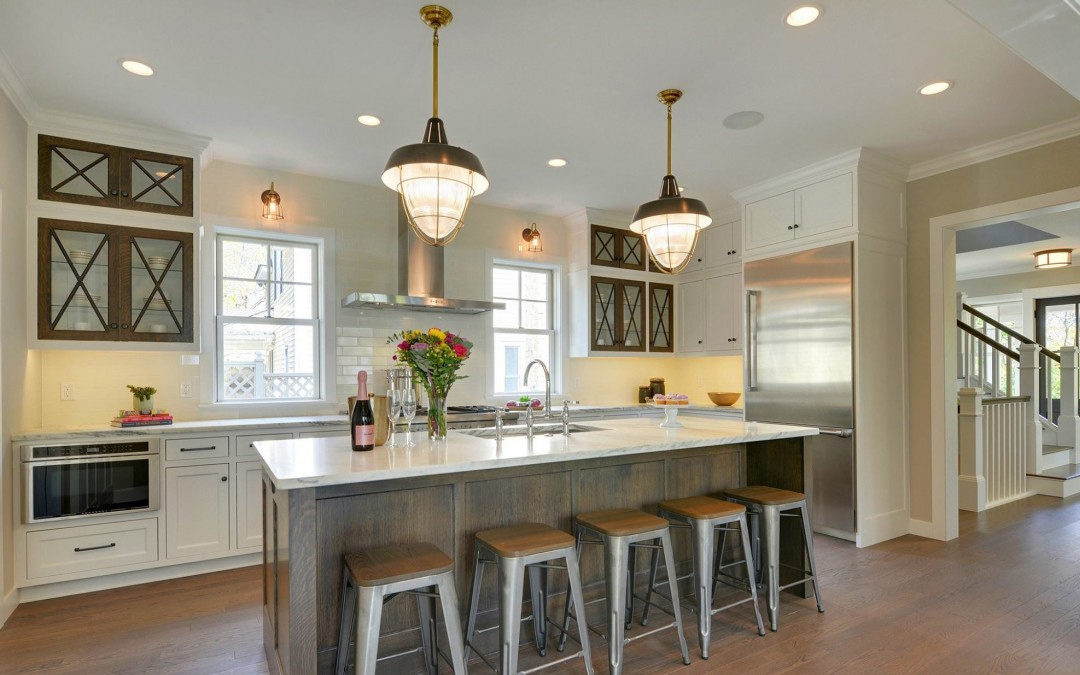
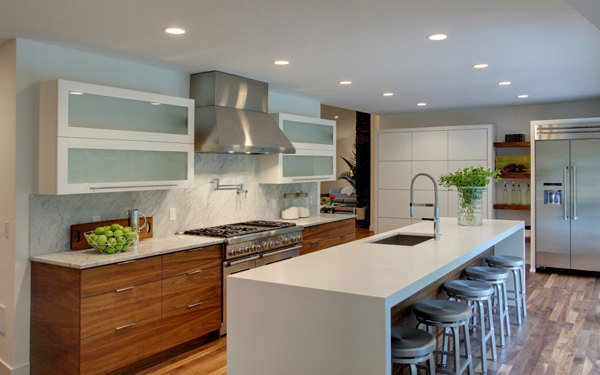
European-Inspired Kitchen
Designed & Made was recently featured on the cover of the Home & Design issue of MSP Magazine. This turn-of-the century home features a European-inspired kitchen with a butler pantry that houses appliances. The highlights of this kitchen include a contrasting...
Luxe Magazine
Designed & Made is proud to be featured in Luxe Magazine for its work on a custom home in St. Paul on the storied Mississippi River. [shareprints gallery_id="6894" gallery_type="squares" gallery_position="pos_center" gallery_width="width_100" image_size="medium"...
Moroccan Bathroom Remodel
Designed & Made had the opportunity to collaborate with interior designer Katherine Ma from Design Group M on this exquisite Moroccan-themed bathroom remodel in Bloomington, MN. The bathroom features a custom vanity with patterned doors, a custom mirror surround...
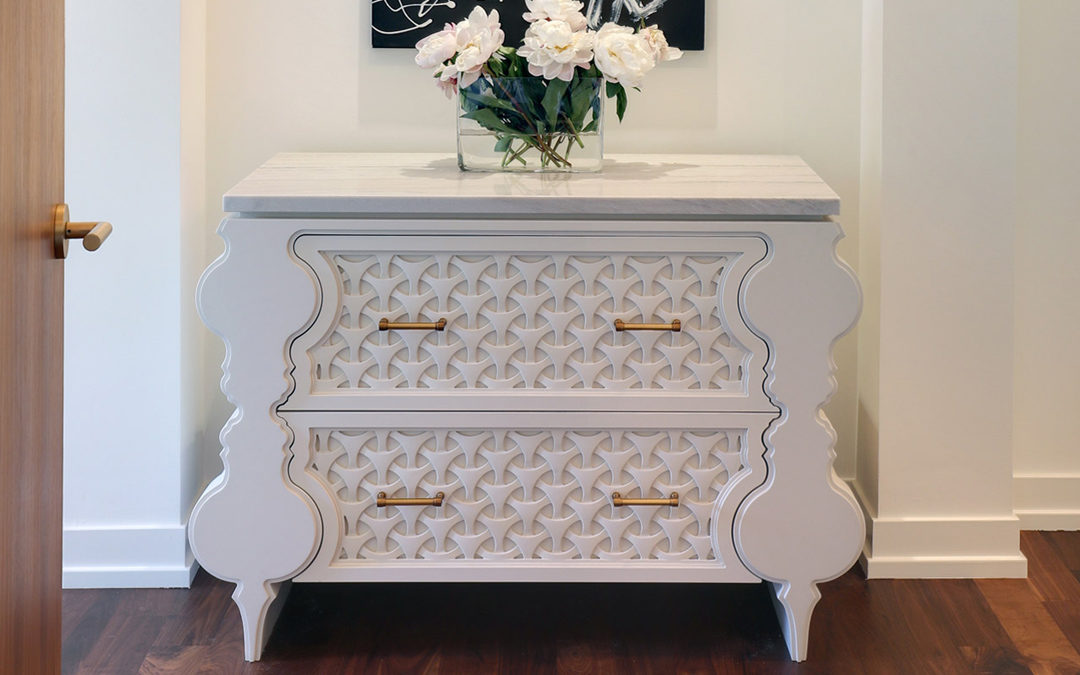
After Hours
What's the point of having a CNC machine if you're not pushing it to the limits? This project allowed us to prove out a new design concept with pattern textures machined into the drawer front. [shareprints gallery_id="6797" gallery_type="squares"...
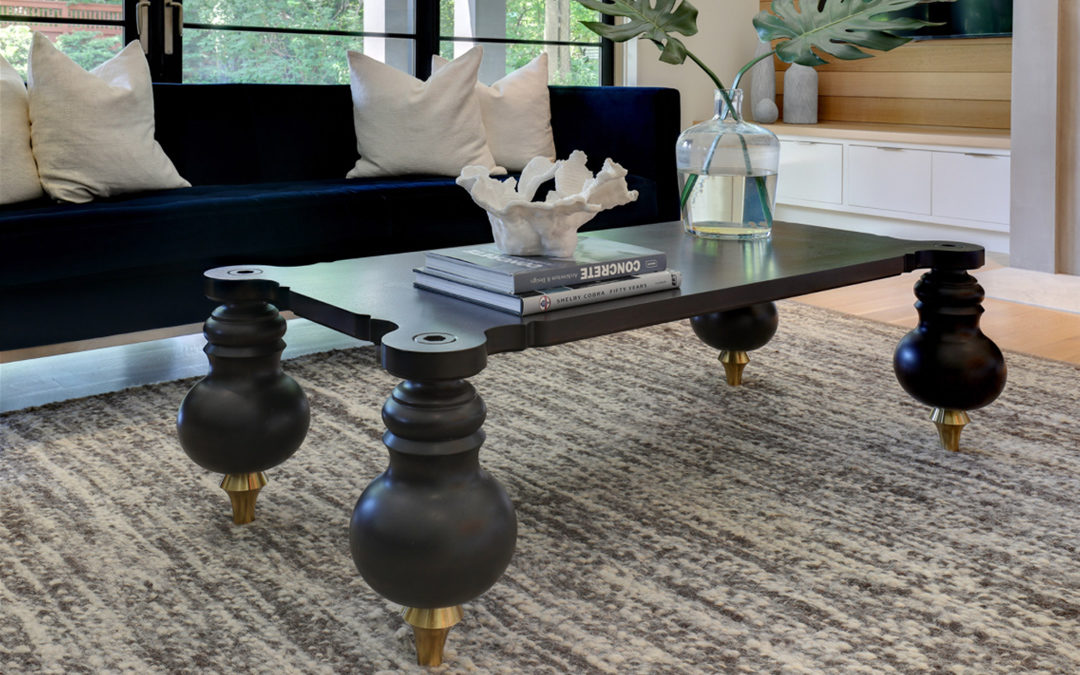
Machine Made
This book-matched slab walnut coffee table was inspired by the idea that custom furniture can be created to match custom cabinetry. [shareprints gallery_id="6813" gallery_type="squares" gallery_position="pos_center" gallery_width="width_100" image_size="medium"...
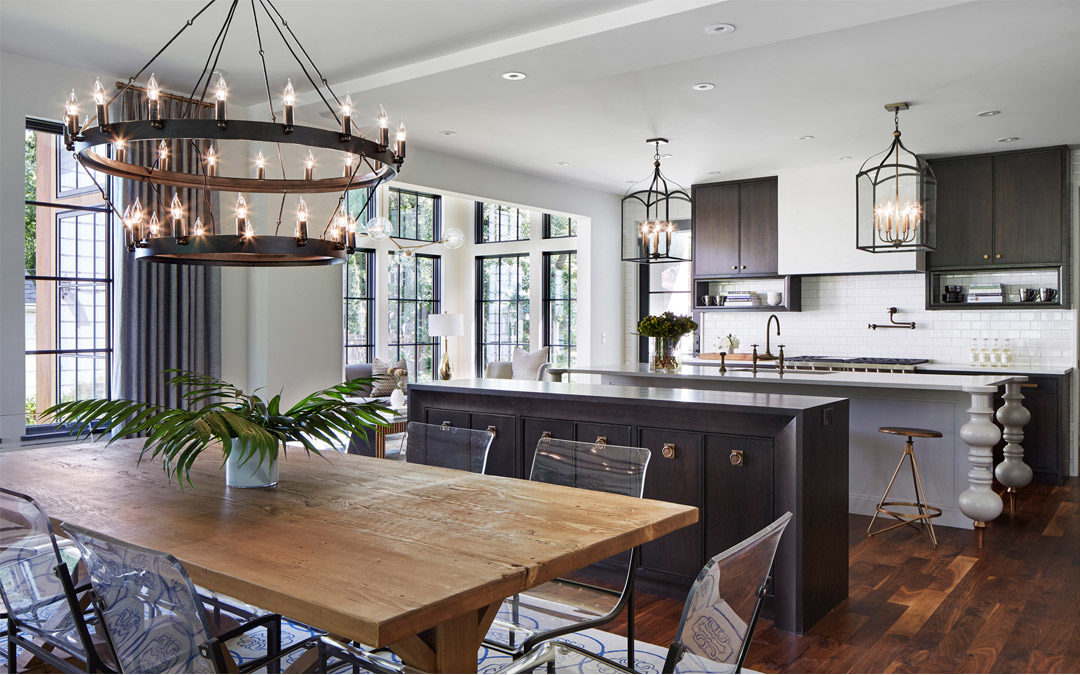
Fall Parade of Homes
This new construction home is situated in a charming neighborhood near Edina Country Club. The center island features custom legs designed by Andrea Swan, while the upper cabinets feature complex curved moldings made of rift-sawn oak, adding character and style to the...
Scottish Tudor
This our latest work in progress created in conjunction with Charlie & Co. Design. This project features a custom island, old world-style timber beams that frame the range wall cabinetry, and a built-in bench in the eat-in kitchen. Combined with a water jet...
Linden Hills Urban Cottage
This new construction home in the trendy Linden Hills neighborhood was built by Reuter Walton and architecturally designed by Peterssen Keller Architecture. Designed & Made worked on custom kitchen cabinetry, the center island, built-in cabinetry for the living...

40 Under 40
Winners Shown (from left): Matt Buell, Jared Patchin, Guy Busey, Ethan Abramson, Brian Grabski Brian Grabski, owner of Designed & Made Custom Woodworking, was a recipient of the Wood Industry 40 Under 40 award from Woodworking Network. Winners were selected from...

Laundry + Craft Room
This is not your typical laundry room. With two workspaces you can fold and press, or cut and wrap with ease. This space works when your feeling crafty or simply taking care of life's mundane tasks. [shareprints gallery_id="6837" gallery_type="squares"...
ASID Awards
Designed & Made Custom Woodworking was excited to be a part of an award-winning team that won 1st Place in the 2015 American Society of Interior Designers Awards in Minnesota. We worked with designer Annie Tropple, Peterson/Keller Architecture, and Hage Homes to...
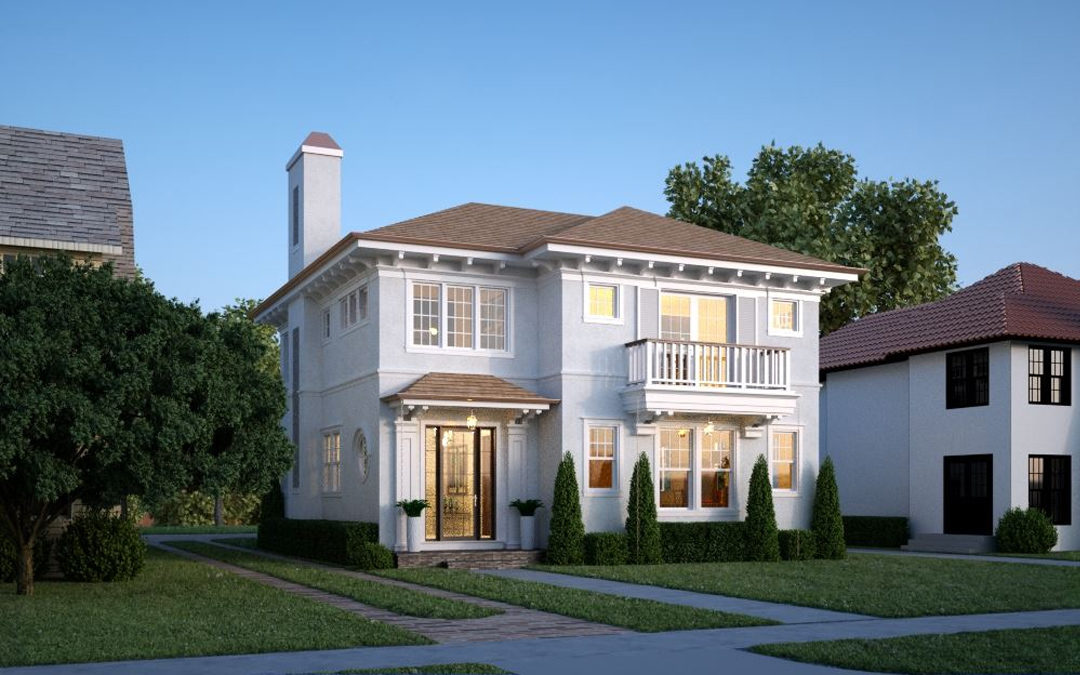
Luxury Home Remodeling Tour
Designed & Made is proud to be a part of the Minneapolis-St. Paul Luxury Home Remodeling Tour. This 1950's mid-century rambler situated in St. Paul's Highland Park neighborhood underwent a full remodel. Located at 2065 Upper St. Dennis Rd. the 6,300 square...
Luxury Home Tour
Designed & Made was proud to have one of its projects recently featured front and center in the Minneapolis Star Tribune's article, “What’s trending in the Kitchen?”. Designed & Made was proud to be a part of the Minneapolis-St. Paul Luxury Home Tour. The home...