

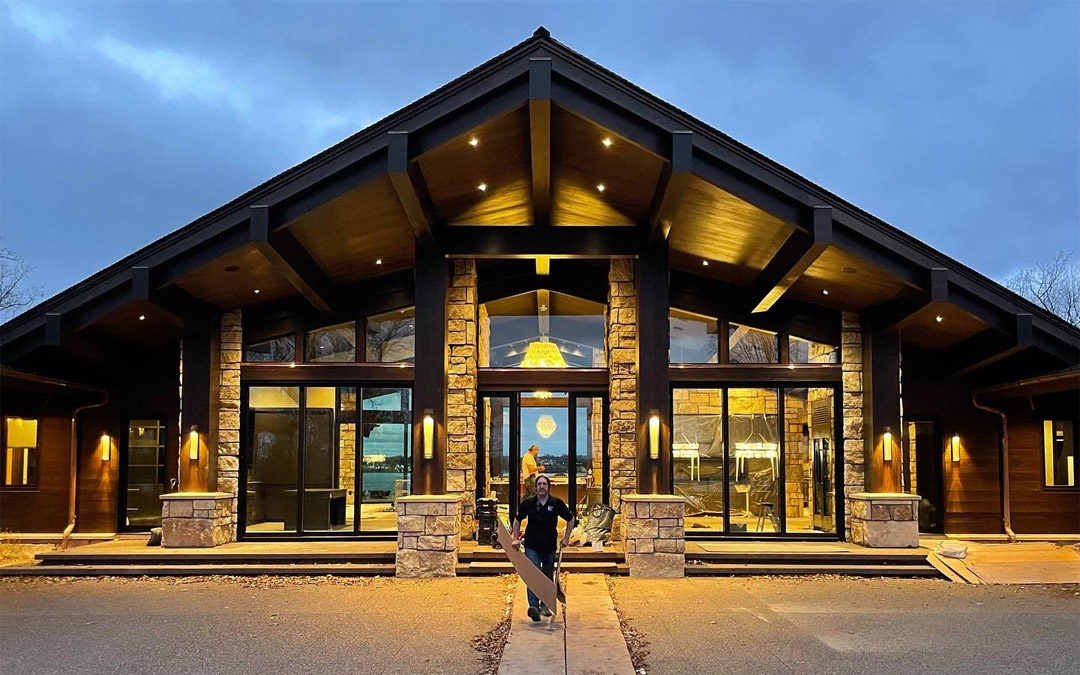
Lake Okoboji
The goal of this project was to create a natural looking patina on new fitted furniture. We researched a number of historical locations and created custom samples for the homeowner to ensure his vision was being executed correctly. Using a combination of finishing...
Dellwood Lake Home
Designed and Made had the privilege to work on a beautiful custom home designed by Andrew Sawn in Dellwood located on White Bear Lake. The home features a custom dining table with inlay and a built-in bar, an oversized center island in the kitchen along with a custom...
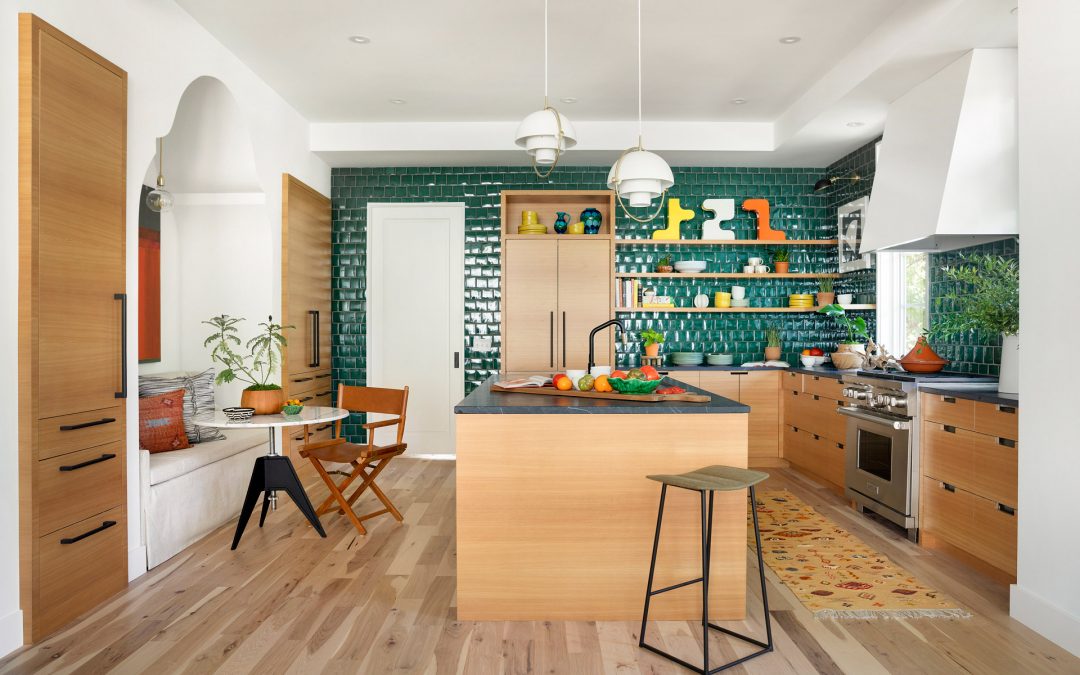
Kansas City Project
This home was purchased as a forever home, but the home's interior needed extensive work to fit the owner's lifestyle. After careful planning, we ended up creating custom woodwork throughout the home, including: Kitchen Cabinets, Island and Range Hood Mud Room...
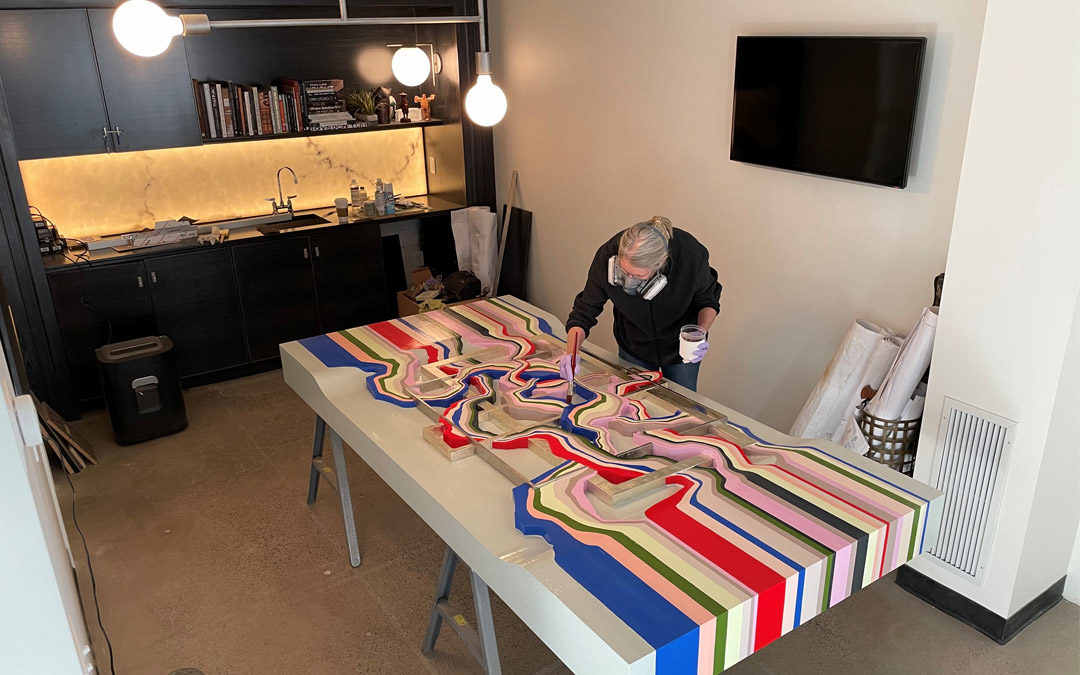
Contemporary Oil Painting
At Designed & Made, we consider ourselves to be more than cabinet makers. We think of our company as a design studio with advanced manufacturing capabilities. When we are involved in a project early, we can help shape walls and room layouts to enhance the final...
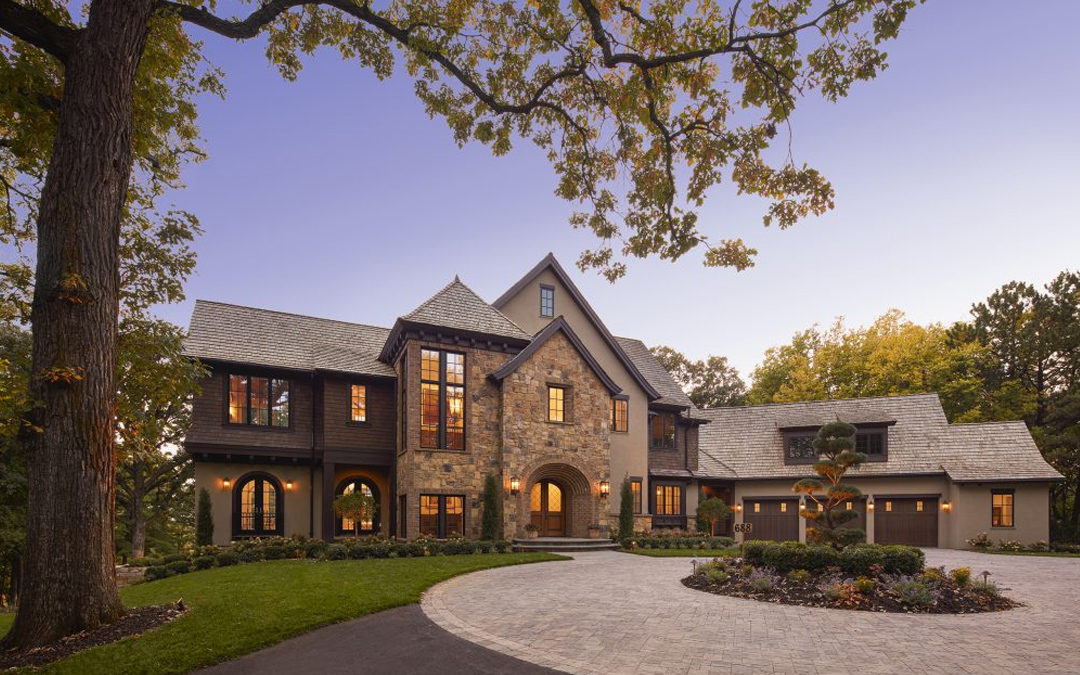
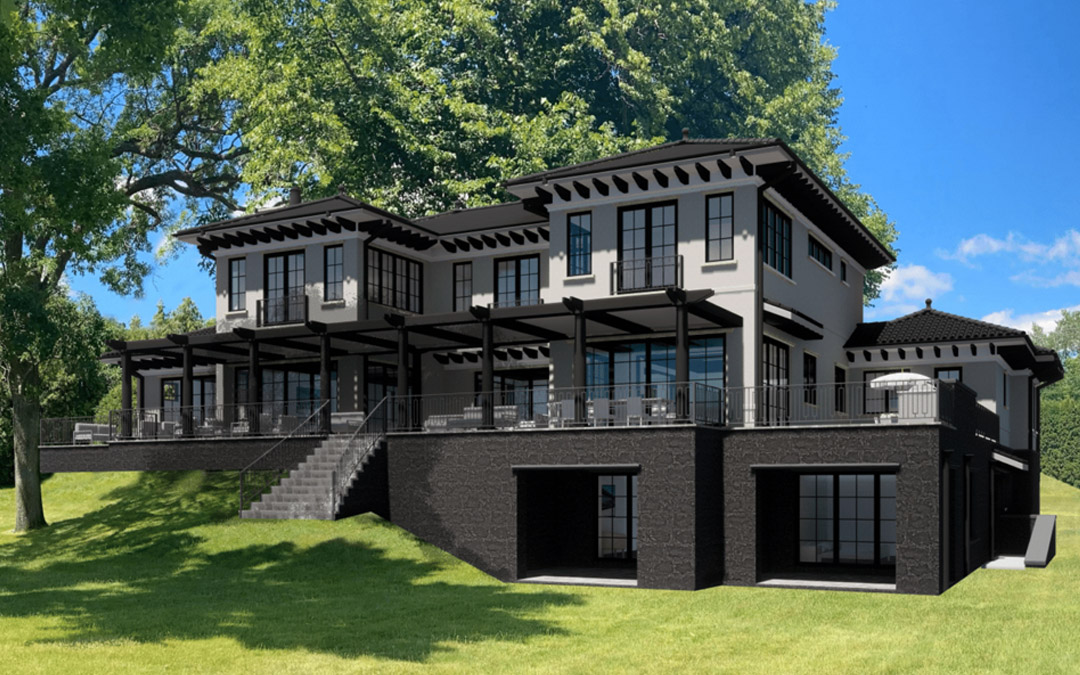
Hilltop House
Designed & Made is excited to work with Tom Rauscher & Associates and Hage Homes on a 7,800 square foot custom home which was featured on the 2020 Artisan Home Tour. Working with professionals early in the process allows us to complement their vision for the...
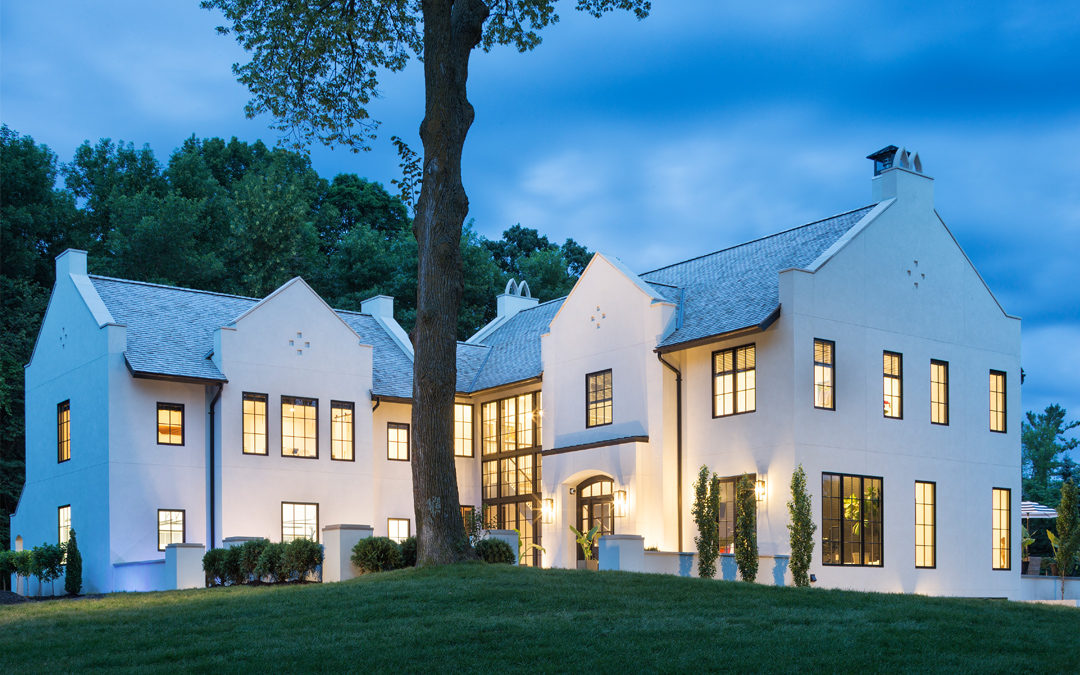
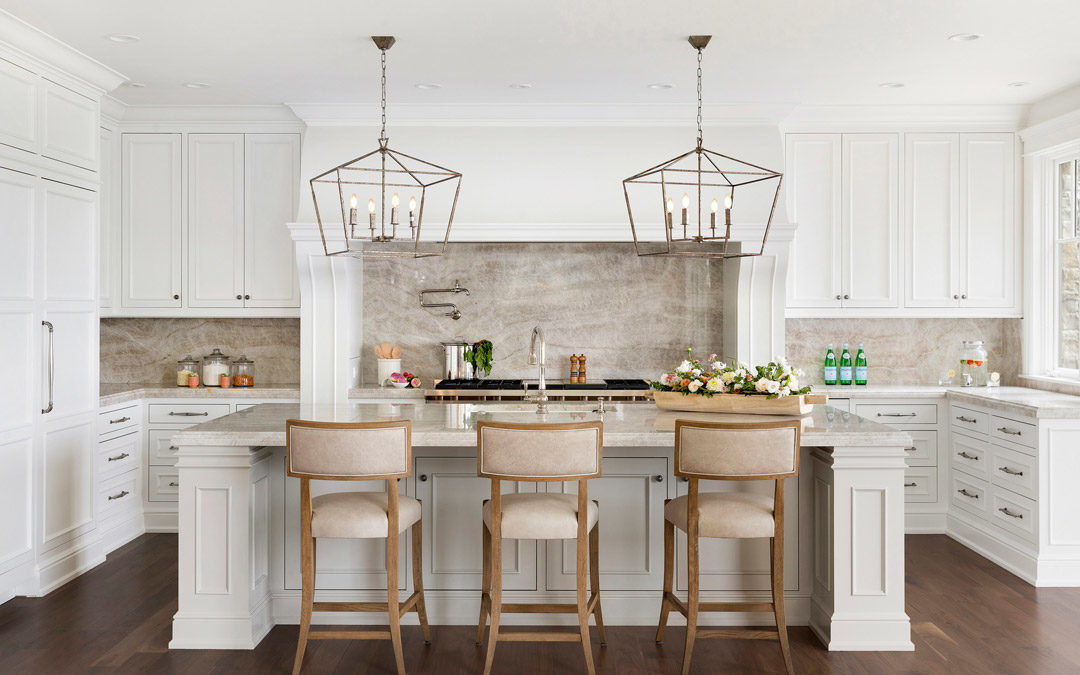
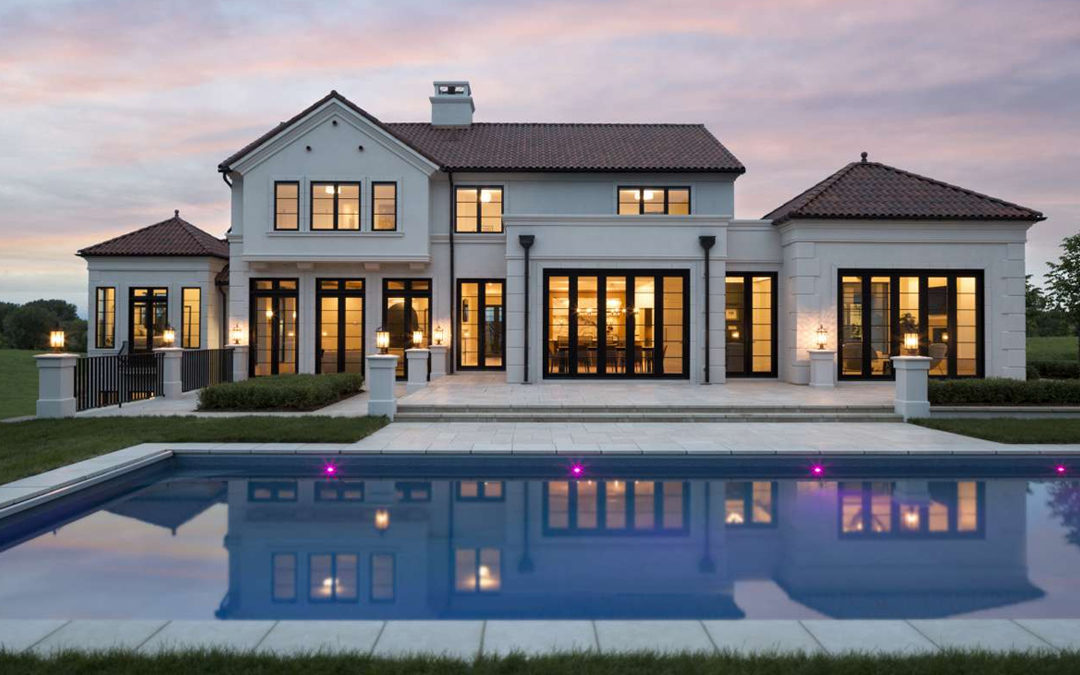
Cape Dutch Artisan Home
This new-build, custom home features simple forms, clean lines, and distinctive raised parapet gable walls. Inside, Designed & Made helped create woodwork throughout the entire home, including: La Cournue-inspired Custom Kitchen, with center island and high gloss...
Lake Minnetonka Remodel
View photos of the this amazing Lake Minnetonka home remodel in collaboration with Frontier Structures and Home Design by Annie. Initially, the homeowner wanted us to design and build new cabinets for the dining room, along with custom vanities and built-in cabinetry...
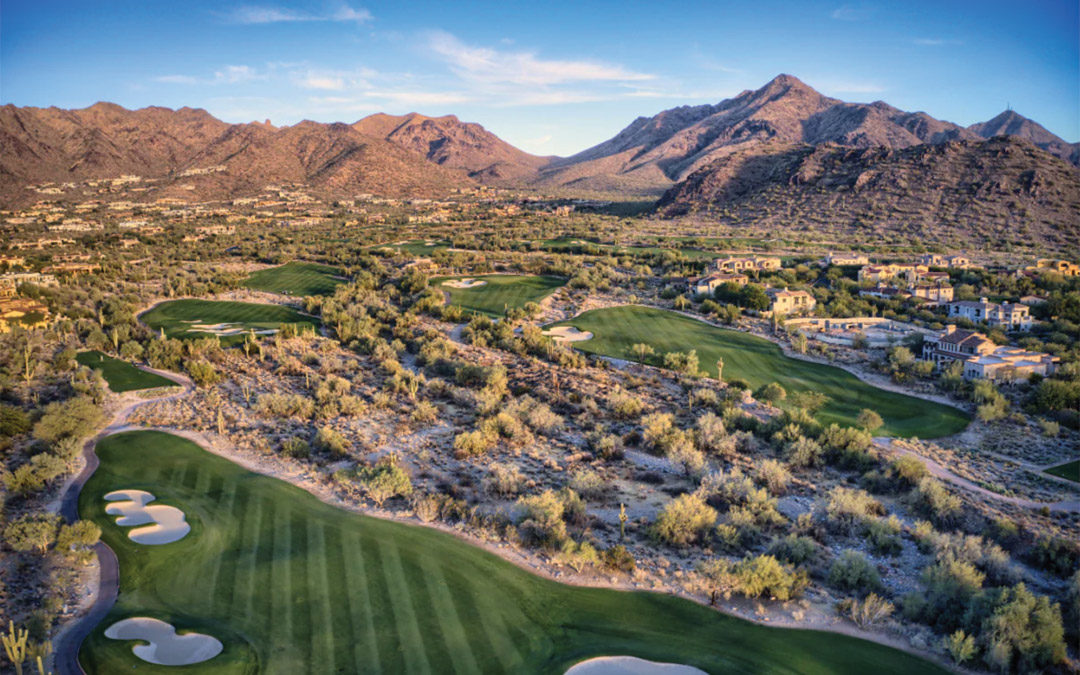
Pueblo Revival
Designed & Made was brought in to build custom cerused oak cabinetry and fitted furniture throughout this Pueblo Revival style home located in the prestigious Silverleaf community of Scottsdale, Arizona renovated by Shawn Kruidenier. The designer Catherine Ma found...
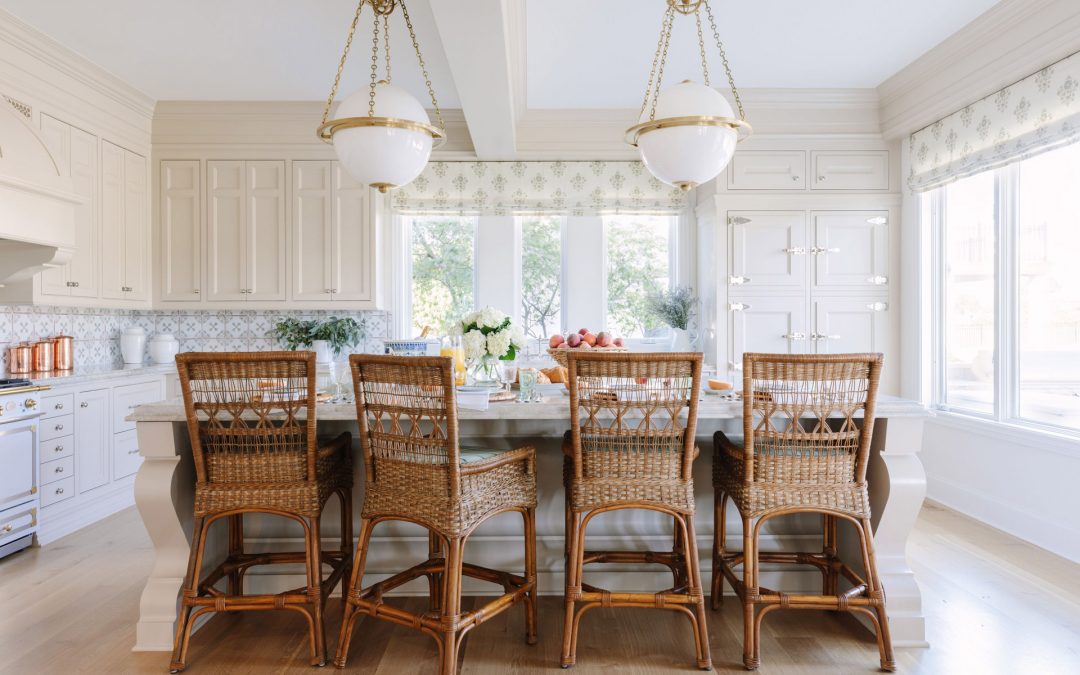
Wayzata Lake Home
Designed & Made was brought into this elegant new construction home in Wayzata built by John Kraemer & Sons and architecturally designed by Murphy & Co. The home features a custom kitchen, pantry, master closets, bathroom vanities and an integrated...
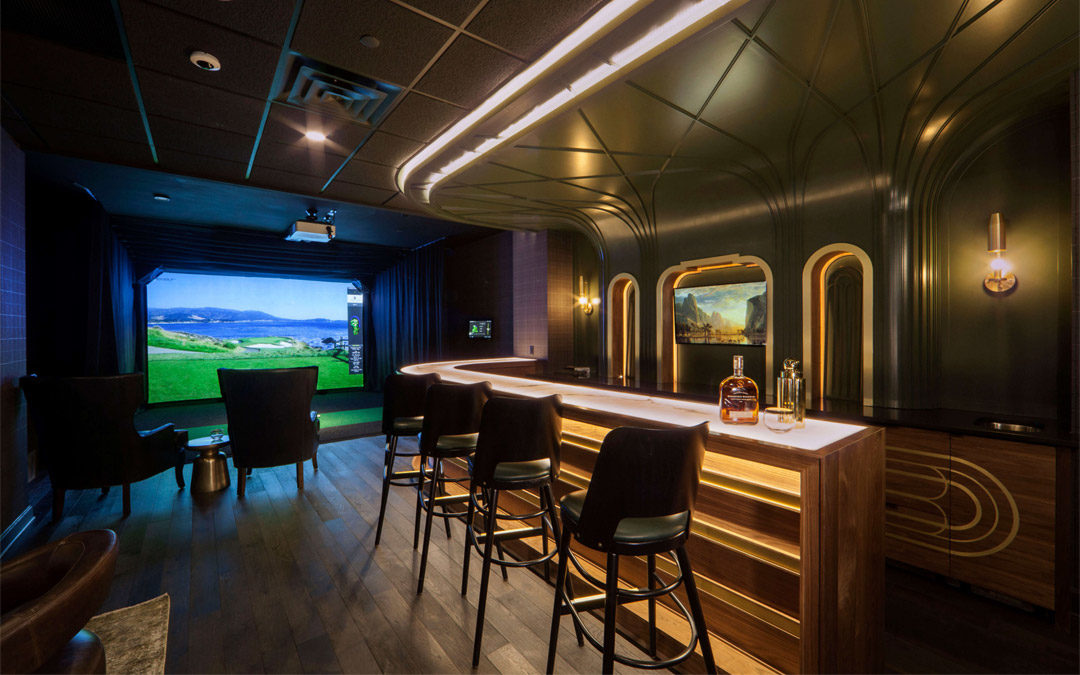
Nolan Mains Art Deco Bar
Designed & Made was hired by Buhl Investors to build a custom bar in the club room at Nolan Mains, a market-rate apartment building located at 50th and France in Edina. The Art Deco-style walnut bar features integrated LED lighting, brass inlays and details that...
Mediterranean Estate Artisan Home
This gorgeous Mediterranean Estate-style home was built in collaboration with Nor-Son Custom Builders, Brooke Voss and Jim McNeil, and features custom wood finishes by Robert Chickey. For this kitchen, our goal was to fully integrate the cabinetry into the...
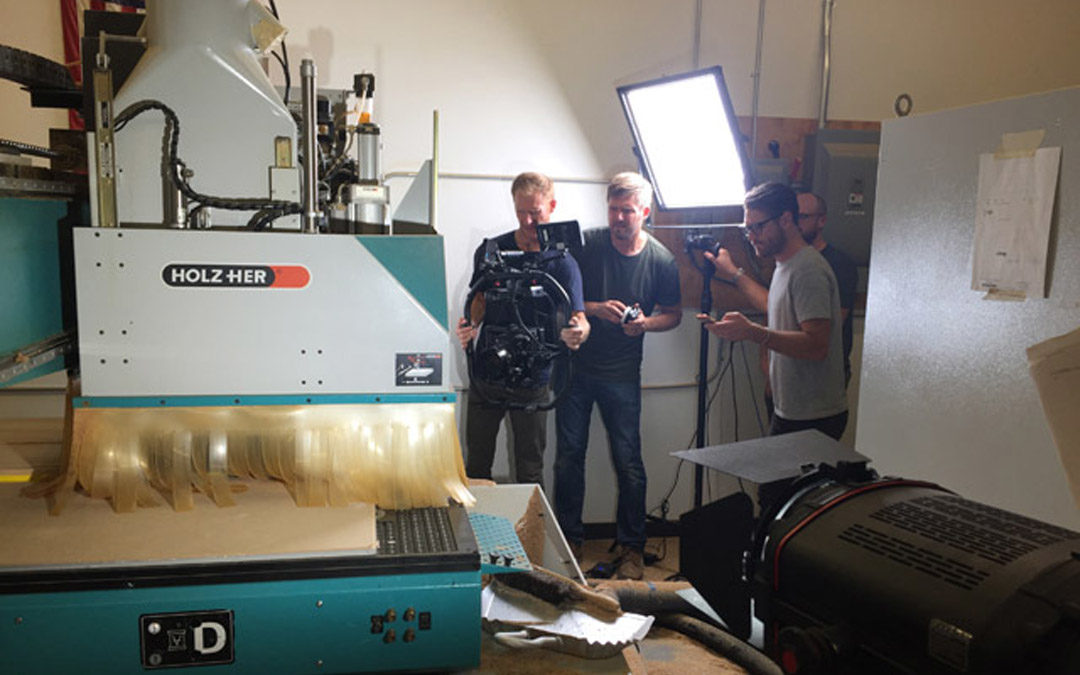
3M Built to Perform Campaign
3M recently chose Designed & Made as a partner for its Built To Perform campaign. The film crew came to our shop and shot our team using their products which we use everyday. Take a look behind the scenes and view the finished videos below. [shareprints...
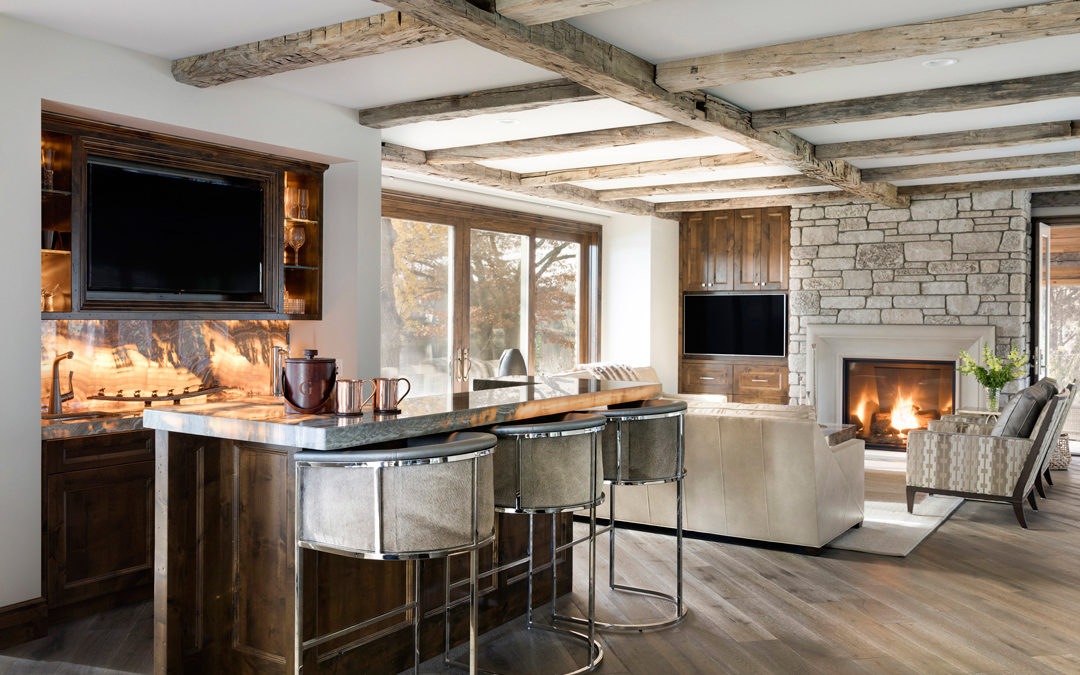
Rustic Glam
We are proud to feature our latest work in collaboration with Hage Homes and Tom Rauscher on the Mississippi River. This custom home features high end finishes, including an Onyx bar countertop with back lighting that highlights the intricacies of the material, as...
Cape Dutch Modern
This Cape Dutch Modern home in Wayzata, MN features horizontal larch wood for the cabinetry, CNC cutout finger pulls, and a non-traditional island along with custom fitted furniture-style mud room cabinets. [shareprints gallery_id="7437" gallery_type="squares"...